No matter what you are hoping to accomplish with your web presence, the Google Grants program can help you to ensure your digital marketing strategy is a success. Google Ad Grants provide your organization with recurring monthly credit toward ad placements in search results as well as the data necessary to fine-tune them for success.
If eligible, you will receive up to $10,000 in ad credits to promote your organization’s mission. These in-kind funds can help boost you to the top of search results, which can increase your visibility and connect you with more people. However, the application process can be difficult, and may require some changes to your existing online presence. But don’t worry — the result is well worth the time and effort.
In fact, at each step in the process you may find unexpected benefits that help your nonprofit in other areas. By the time your organization sends in your application, your organization might already be more effective than when you started. That’s part of what makes this journey so valuable!
At Nonprofit Megaphone, helping nonprofits like yours to thrive is our goal, and we work hard to ensure our clients get the most out of the program through our Google-certified, professional Ad Grant management. This passion and skill has been carefully cultivated into key advice that we are thrilled to share.
So how do you complete the Google Ad Grant application? In this ultimate guide on applying for the Google Ad Grant, we will cover:
Google Grants Application: FAQ
What is the Google Grant?
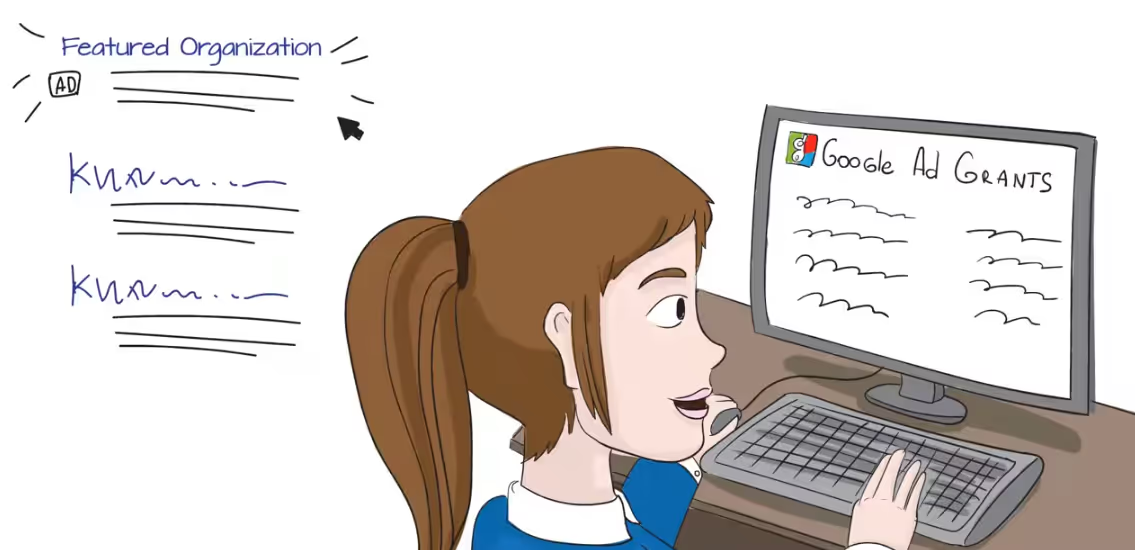
The Google Ad Grant is a program that gives eligible nonprofits up to $10,000 per month in ad credit. With the grant, you can place paid ads in Google search results at no charge to your organization. This helps bring interested readers to the pages that matter most.
Whatever your organization’s needs or goals are, there are ways to use the power of the Google Ad Grant to your advantage. However, you must also be careful to maintain compliance with Google’s rules and policies, or you could risk losing it. If that happens, don’t worry—a suspended account can often be recovered with expert help.
Is my nonprofit eligible for a Google Grant?
Google Ad Grant eligibility is simple to verify. To be eligible for the Google Ad Grant, your nonprofit must have their 501(c)(3) tax exempt status if you’re operating in the United States, and have a website that is up to Google’s standards of quality. You must also agree to Google’s terms and conditions.
Schools, hospitals, or government agencies are not considered eligible nonprofits.
How long does it take to apply for the Google Grant?
The length of time required will depend on your organization’s readiness. If you are already a member of TechSoup and have a website that meets Google’s requirements, the application process could take anywhere from 2 to 14 days.
If not, you will have to join TechSoup and ensure that your website is compliant with Google’s website policy first, which could add additional time. Techsoup is a nonprofit that supports other nonprofit organizations by helping them gain access to donations and discounts on software and tech services, and they are free to join.
If you’re unsure of where to start, consider working with skilled consultants, like our team at Nonprofit Megaphone. We can help you save time and avoid potential mistakes that could slow down the process.
Now that you know all of the Google Ad Grant basics, let’s take a closer look at each of the steps in the application process!
Step 1: Access Your Google For Nonprofits Account
The first step in your application will be logging into your Google For Nonprofits account (or signing up for one if you haven’t set it up yet). Countless nonprofits are already using this suite of software and services to optimize their sites and thrive, so don’t view this as just a box to check off on the path to the Ad Grant — these services can make your life easier and help your nonprofit grow.
Google For Nonprofits opens many doors beyond just ads — you’ll also be able to put Google Workspace For Nonprofits, the YouTube Nonprofit Program, and Google Earth and Maps to work for you.
If you don’t have Google For Nonprofits set up yet, don’t worry. It’s easy to apply and immensely beneficial, and if you are eligible for Google Ad Grants, then you will be eligible for this as well.
When applying, you will be prompted to provide your organization’s EIN, physical address, and contact information, so make sure that you have those ready.
Once you request a Google For Nonprofits account and fill out the necessary information, you will be asked to verify your nonprofit status with Google, which is done through a third party called TechSoup.
Step 2: Verify Nonprofit Status with Percent
Verification of your nonprofit status is performed through Percent, a trusted international company that works to connect nonprofit organizations with the technology they need to empower their missions. Percent checks a global database to verify your organization’s status as a legally registered nonprofit.
In addition to being another part of your journey toward the Ad Grant, Percent can also help increase your organization’s visibility and engagement with donors, as well as provide insights about your donors.
You will need to have verification by Percent in order to be accepted into Google’s program. You can easily apply to be verified by Percent at the same time as your application for Google For Nonprofits. To do so, simply click “Get started” on the Google For Nonprofits page.
To apply for Percent, you will need your organization’s EIN, website address, and mission statement. After submitting the application, you will receive a verification email to confirm your email address. An additional email will also be sent to a generic email address that is associated with your organization to verify that you are associated with your organization. After that, you may be asked to provide more documentation, such as your 501(c)(3) determination letter.
With your verification in place and the Google For Nonprofits application filled out, you should have everything you need to find out if you have been accepted into Google for Nonprofits. The application review process for these two organizations can take anywhere from 3 to 14 days on average.
Step 3: Prepare Your Website for Your Google Grant Application
Another key element in your application for the Google Ad Grant is your website. Google checks for a list of conditions before approving your application, but going above and beyond will also help you to benefit from what the Google Ad Grant offers. The following tips will make your site both Google compliant and more effective!
Install Google Analytics
Google Analytics is a powerful tool for collecting data about your website. The Google Ad Grant requires that you install Google Analytics on your site in order to track the success of your ads, but it also provides a wealth of other features such as:
- The ability to create and track goals. Your goals could include having a visitor to your site apply to volunteer, donate to your organization, or complete a survey. With Google Analytics, you can see how often these goals are achieved and which pages on your site are helping you to complete these goals.
- An overview of your web traffic. You will be able to see how your website is performing in real time. You can also compare past and present web traffic to see how it is changing over time.
- A window into website performance. Easily see average times that your visitors spend on your website, what pages they view, and other vital information.
To get started with Google Analytics, you will first need to sign up for a free account and connect your account to a “property,” which is your website or app. This will tell Google what it should be tracking, but it won’t enable Google to begin tracking all on its own.
Next, you will need to add Google’s tracking code to every page that you want Google Analytics to track. This can be done by copying the code into the HTML of your website, but your website’s platform — like WordPress or Squarespace — might also include a simpler method for inserting the code into your pages that you can find in their plugin or app sections.
Once you have Google Analytics integrated into your website, you will be able to create and track goals and view performance like never before!
Prove Your Nonprofit Status and Add Your EIN Number
Your EIN is your key to unlocking the nonprofit world — and Google knows it. Adding your EIN into your website’s pages signals to Google that you are a nonprofit and allows for better results.
You don’t need to worry about your organization’s safety because displaying your EIN publicly doesn’t pose any threats to security. It can’t be used against you. If anything, displaying it helps to build your credibility and shows that you are a 501(c)(3) organization to visitors who might be interested in donating.
The industry insiders at Nonprofit Megaphone have a favorite way of displaying your EIN that will make sure it is included on every page: put it in the footer of your website. This way it is easily accessible to both visitors and to Google without impacting your website’s design.
Secure Your Website
Your website will also need to be secure and trustworthy. You may have noticed that some websites — like the one you are currently on — have https in their web address, while others have only http. The “s” here says that your site has an SSL certificate and is added when a site is encrypted for privacy and safety. Google wants your website to have this security measure as well.
There are other benefits to this security measure beyond just the Google Ad Grant. It can help prevent you and your supporters from certain types of online theft or cyberattacks. Adding encryption to your web pages will also positively affect your SEO, and is needed to take advantage of modern features in many web browsers. In fact, not including this certificate might even hurt your website. For example, Google Chrome will even mark sites that don’t have https in their web address as “not secure,” which will turn away visitors.
In order to obtain an SSL certificate yourself, you must first check your WHOIS record and ensure that it is up to date with your current information. You will then need to generate a Certificate Signing Request (or CSR) on your server. If you do not know how, your web host can assist with this. You will submit that CSR to an SSL Certificate Authority like HubSpot or Let’s Encrypt, and they will give you a code which you can install on your website.
If this proves difficult or you don’t know how to proceed, you can always reach out for help. Nonprofit Megaphone is experienced with obtaining SSL certificates and the security they provide, and can assist with this process for our clients. This can be vital for making sure your website is trustworthy to your supporters, so make sure that everyone is protected.
Ensure Your Website Is Follow Google’s Guidelines
Another key to success is to ensure that Google and your users can easily navigate your website and find it visually appealing. Here are a few key areas you can look at to improve your website’s presentation:
- Content. Your website needs to have the kind of content that Google will be able to see and understand. We call these Promotable Pages. These should be pages or posts that are 300 words or more and have a single, well-defined topic that is relevant to your organization’s goals. The best promotable pages will include a relevant Call to Action for visitors to take, such as donating or volunteering.
- Loading Times. Your website should be responsive for both mobile and desktop visitors. Avoid overusing massive images, auto-playing videos, or including any other large files. Having too many of these will slow down your page, which will make visitors leave.
- Clean Design. The best websites are confident in their design and their branding, and know that sometimes less is more. Show restraint with your design elements. Your website should be easy to scan with a quick glance, and should not feel crowded, busy, or cluttered.
- Easy Navigation. Effective navigation can be easy to overlook, especially if you are already used to knowing how to find what you want on your website. Try to approach your site as if you were visiting for the first time, or ask someone new to try and find a few of your key pages. Navigation links should be easy to find and your important pages should be effortless to locate.
- Malware Free. Limit your plugins, links, and embedded objects to only what is secure and trustworthy. If your visitor picks up malware from your website, you can guarantee they aren’t coming back.
Step 4: Setting Up Your Google Grant Account
Once you have all of these elements in place, you will be able to fill in your application and complete the last steps of part one. Google will help to walk you through parts of this process. There will be guidance built in as you move forward as well as required training and a survey that you will be asked to complete. Once it is submitted, it could take up to a week or more for your application to be approved.
If everything is up to their standards, you will receive an email approving you to move on to the second part of your application process! Now you can begin setting up your account to take your first steps into using the Google Ad Grant.
Here’s one last tip: Do not enter your billing information as you set up your initial ads. At no point in this process is it required, and it can actually interfere later on. There will be a red bar at the top of the screen which will prompt you to fill out this information, but you should ignore it. It will not be required in order to move forward. Entering this information could void your progress and require you to start over from the beginning with a new account.
Set Up Your First Google Ads Campaigns
Now it is time to dive into Google Ads by setting up your first campaigns. You’ll find the Campaigns tab on the navigation bar to your left, on your Google Ads home page.
- Avoid single-word keywords. With only a few exceptions, Google does not allow single-word keywords. Keywords related to your brand or those tied to specific medical conditions your nonprofit may work with are allowed, but still may not be the most effective way to advertise those specific needs.
- Don’t use overly-generic keywords. Any keyword that isn’t sufficiently specific won’t be allowed by Google — and for good reason.This could not only lead to confusion, but it could also rob you of effectiveness in your ads. Being specific and to the point allows you to put your ad in the searches of those who most want to find what you are offering.
- No keywords with a quality score of 1 or 2. If Google flags keywords as having a quality score that is low enough, they will require you to remove them or replace them with something that is more effective. This isn’t a penalty. Instead, think of it as Google looking out for your best interest. You want to put your best foot forward!
Be sure you have Sitelink Extensions enabled, which will allow you to add links to specific parts of your website into your Google Ads. This step is important if you want to increase engagement for a particular page like your donation page. Click the Ads & Extensions tab in the page menu on the left and you will find a panel where you can set up Sitelinks in your ads.
Set Up Google Analytics
To see the best results, you will need to connect your Google Analytics with your Google Ads account so that you will be able to see what is working and what isn’t. This will also allow you to import your goals and other data from Analytics into Ads to save time and improve your results.
In order to link these two accounts, you will need to have the correct permissions. Check that the account you are using has Edit permissions for Analytics and Administrative Access to the Google Ads account.
Once you log in to Analytics and click Admin, under Tools & Settings. Navigate to the property you want to link and select Google Ads Linking. From here you will be able to click +New Link Group and select your organization’s Google Ads profile. Turn on linking for each view that you wish to allow access, and finish by clicking Link Accounts.
When you complete this step, you should have everything in order. You have now finished your Google Ad Grants application! There is far more to learn and improve upon, but you now only need to wait for final approval and you will have access to the Google Ad Grant and all it has to offer.
Leave The Application Process To The Experts
Now that you have seen the value of what the Google Ad Grant can accomplish and have your organization set up to thrive, you may want to consider what paid, professional grant management from Google-certified industry innovators like Nonprofit Megaphone could offer.
Nonprofit Megaphone offers nonprofits expert guidance to help your organization see the maximum possible benefits with the minimum effort from your in-house team. We offer:
- Experts with years of expertise in every part of obtaining and using the Google Ad Grant.
- Careful attention to creating, maintaining, and optimizing your ads.
- A track record of success with helping reactivate suspended accounts.
- Bundles of add-on services that can expand the impact of the Google Grant even further.
If you would like to learn more, go ahead and connect with us now! At Nonprofit Megaphone, we are dedicated to giving every client the careful attention they need to meet their goals and rise to the next level.
Conclusion
Applying for the Google Ad Grant can take a little time and effort, but you will find that each step of the journey will help your organization grow and meet its goals. These aren’t just items on a list to check off — each step is a chance to improve your effectiveness and rethink how you present yourself online.
Looking for more insightful tips and educational resources, such as free webinars and live events? Sign up for our newsletter so that you won’t miss a beat!
If you want to learn more about the Google Ad Grant, check out these additional resources:
- Google Ad Grants for Nonprofits: The Ultimate Guide Want to know more about the Google Ad Grant before you apply? This in-depth guide can help you find answers to all of your questions!
- Website Design that Appeals to Grant-Awarding Foundations. Good website design matters for more than just your Google Application. These tips could help you secure your next grant.
- Using Digital Ads to Boost Volunteer Sign-Ups: 6 Tips. Now that you have begun to see what Google Ads can do, it’s time to explore how to use them to recruit volunteers!
.svg)

.svg)
.svg)
.svg)

.avif)















































.svg)
.svg)
.svg)
.svg)